Central Vacuum Installation Guide: Everything Canadian Homeowners Need to Know Before They Start
If you've been thinking about upgrading your home's cleaning setup, central vacuum installation is one of the smartest investments you can make. Unlike portable vacuums that lose suction, scatter allergens back into the air, and wear out motors every few years, a built-in central vacuum system delivers consistent, powerful cleaning for decades. And the good news? With the right parts, the right plan, and a little guidance, many Canadian homeowners can tackle the installation themselves.
What Is a Central Vacuum System?
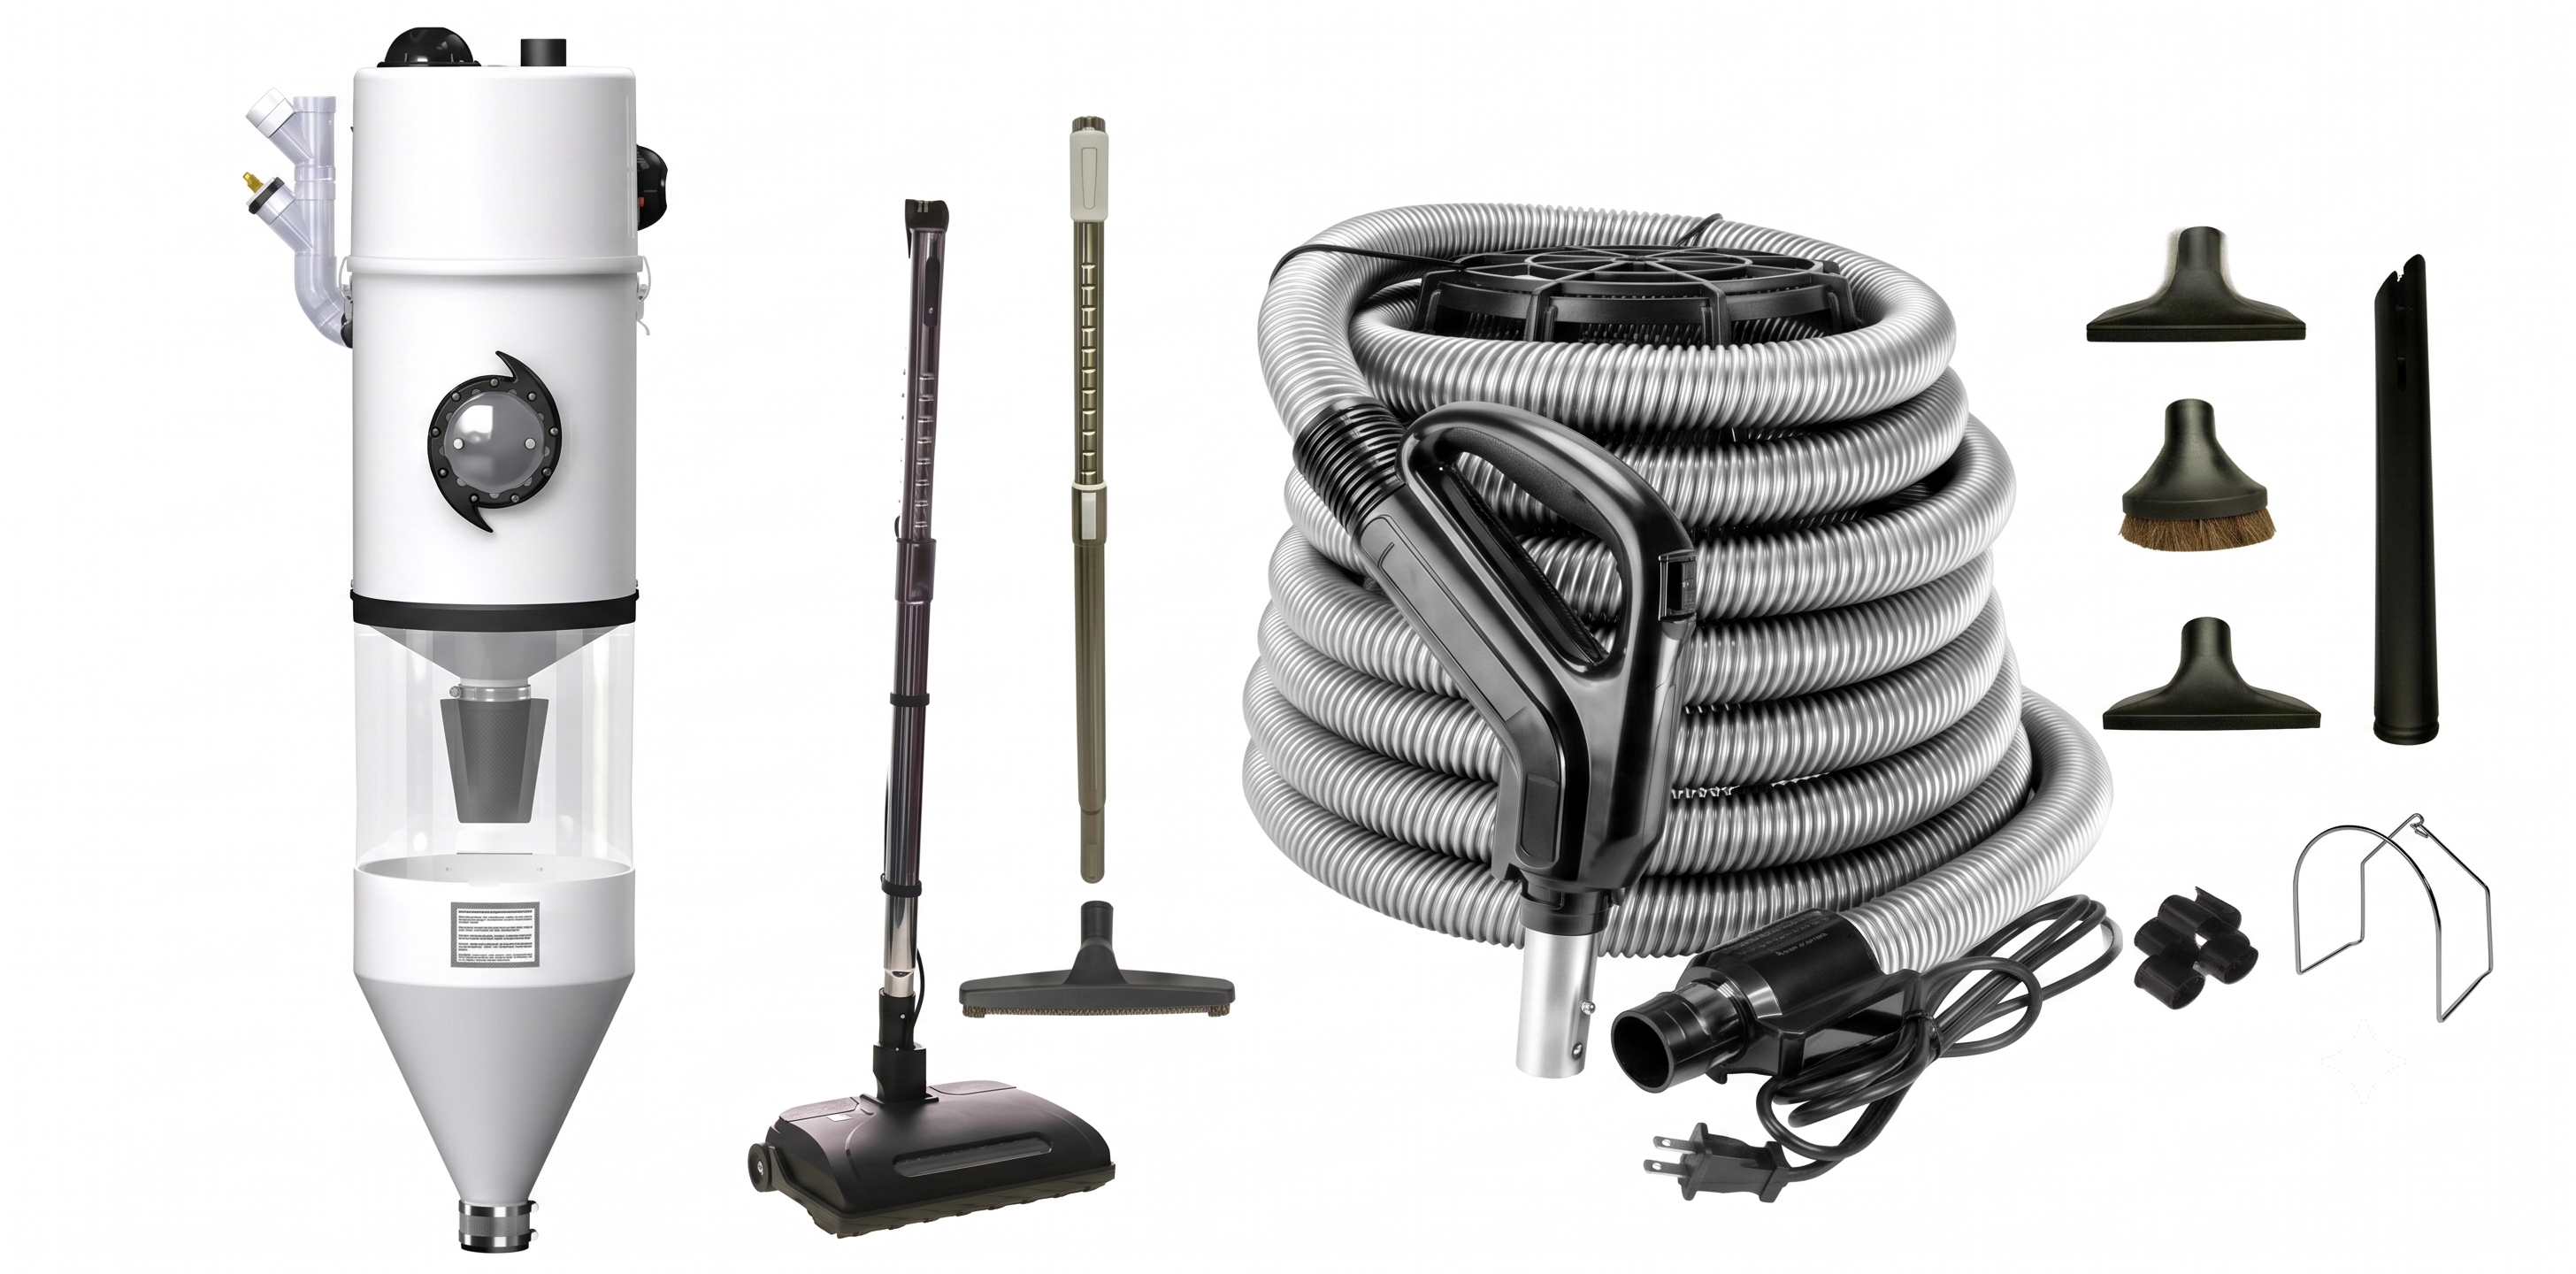
A central vacuum system is a whole-home vacuum solution built directly into the structure of your house. It consists of three main components:
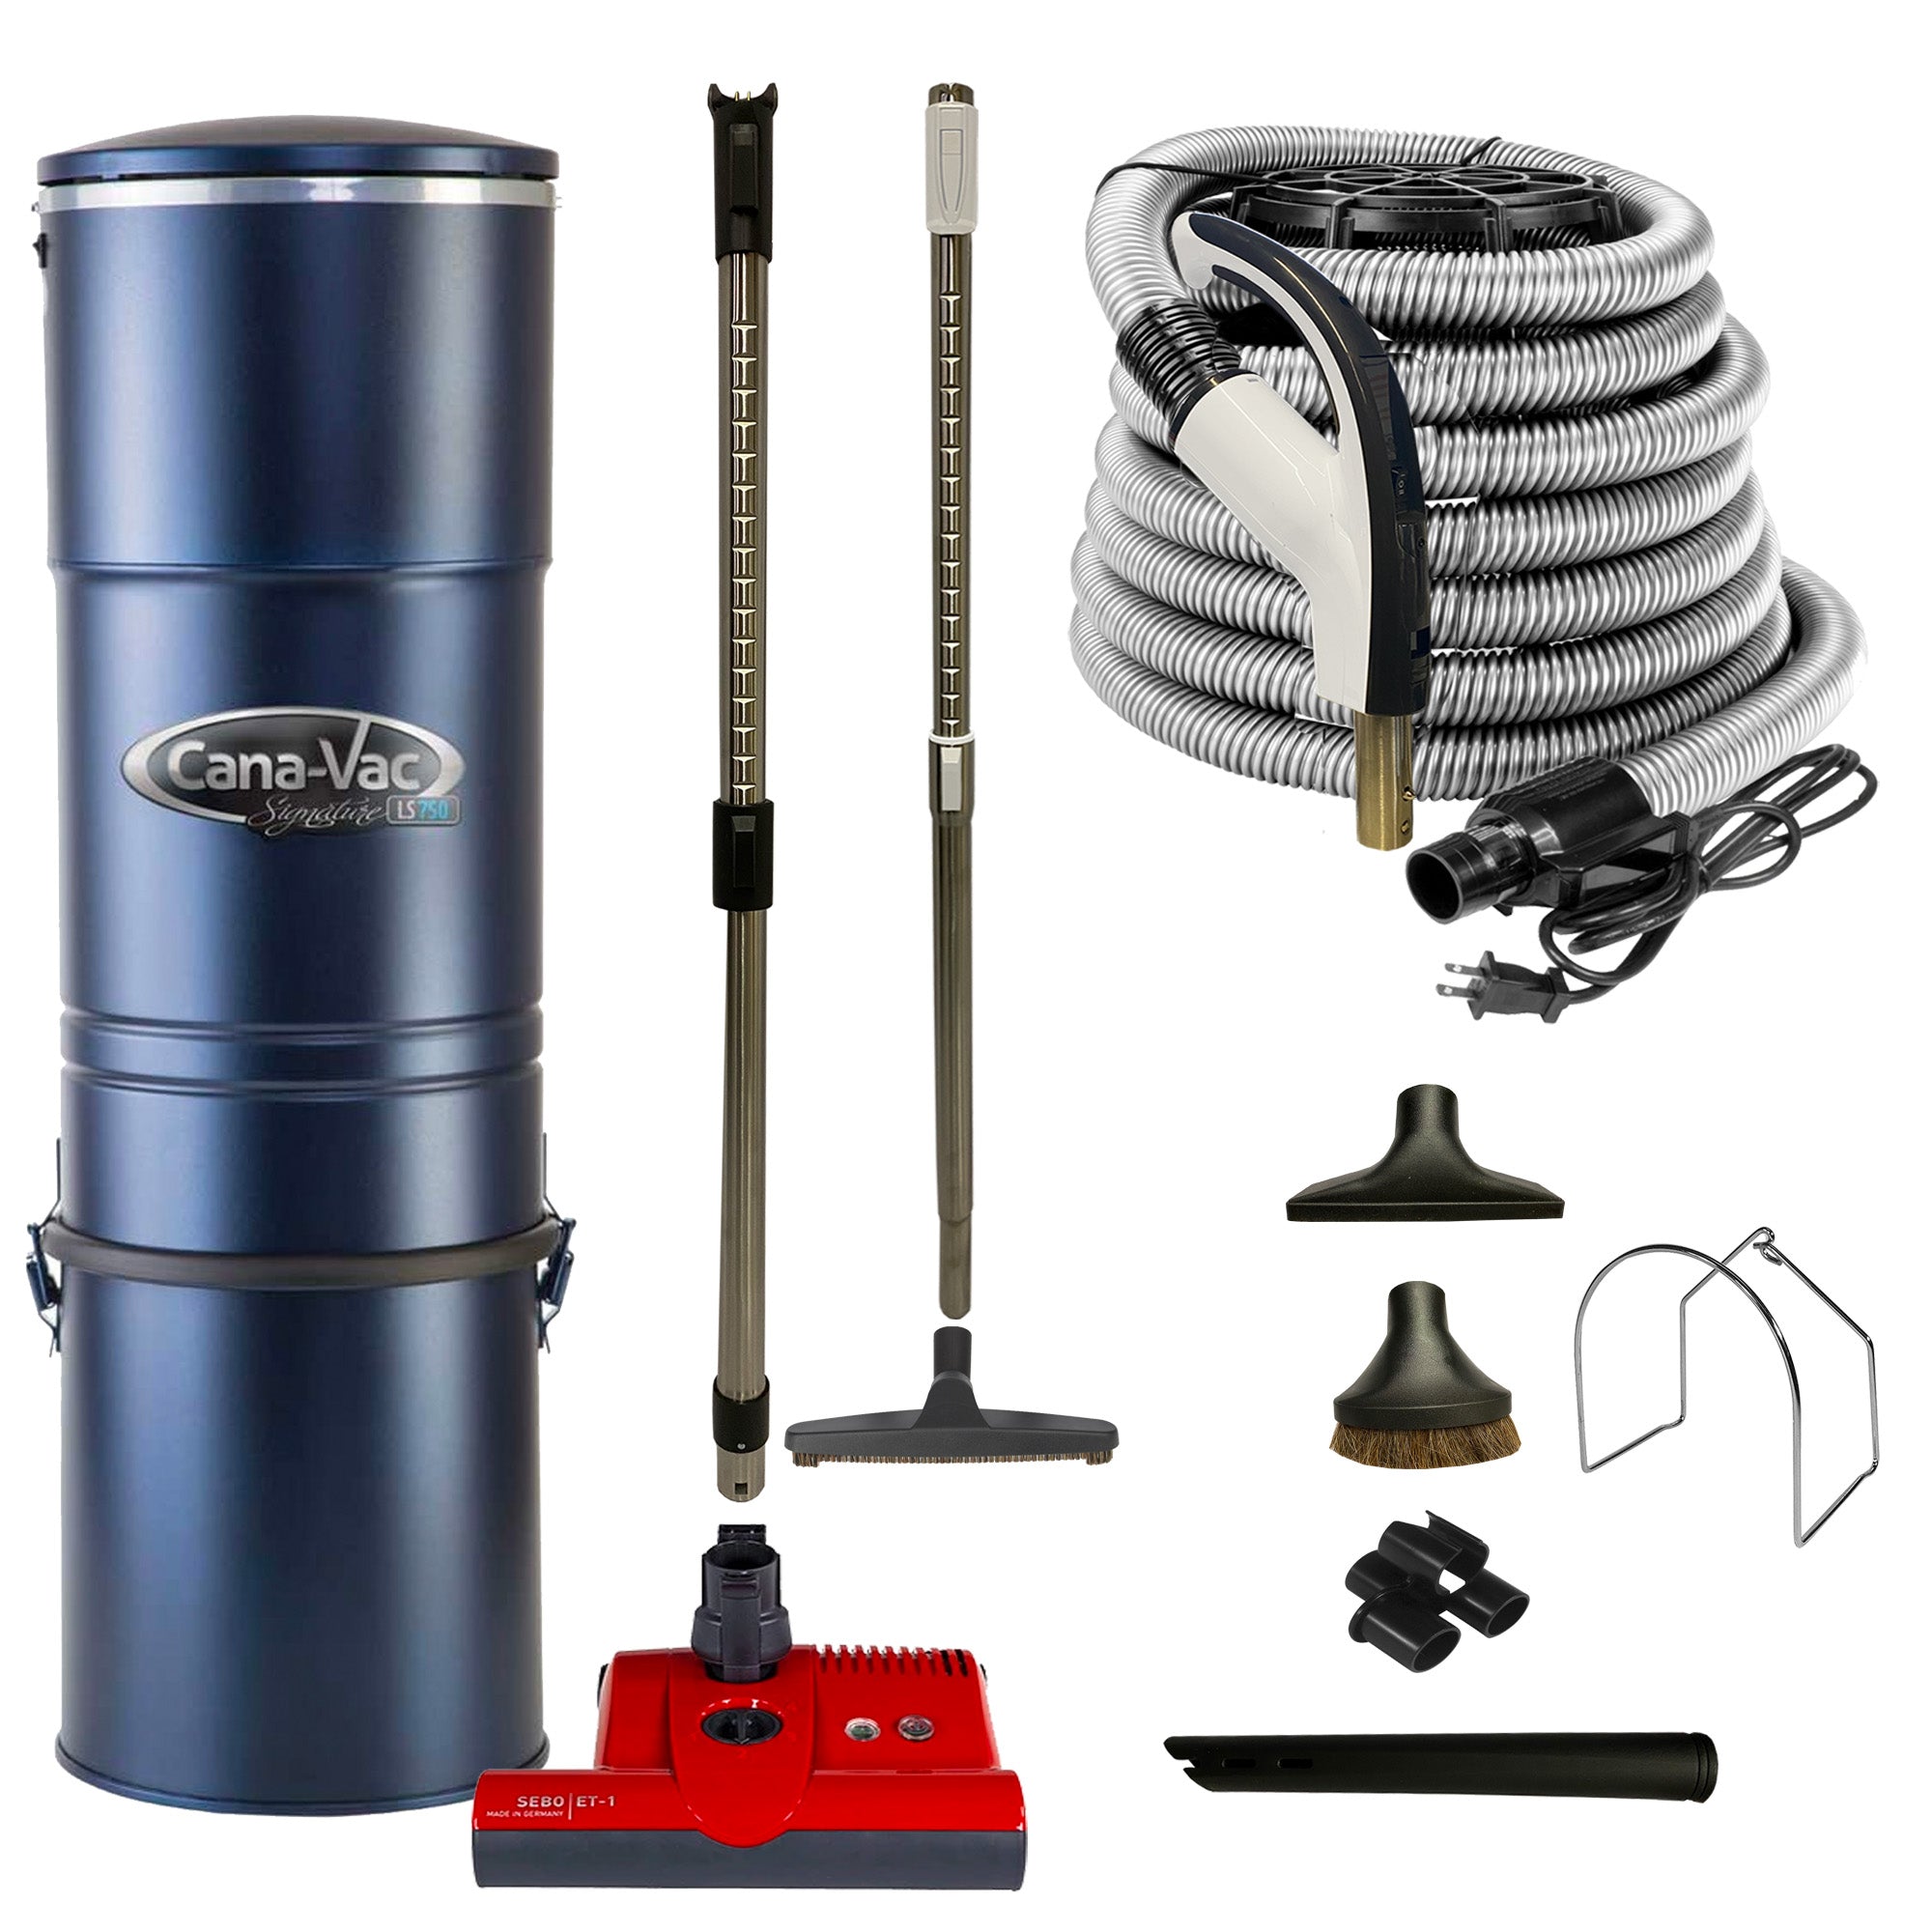
The Power Unit — This is the heart of the system, typically installed in a garage, basement, or utility room. It houses the motor and the dirt canister. Brands like CanaVac, CycloVac, Nilfisk, and DrainVac manufacture power units rated for homes ranging from 1,500 sq. ft. to over 10,000 sq. ft.
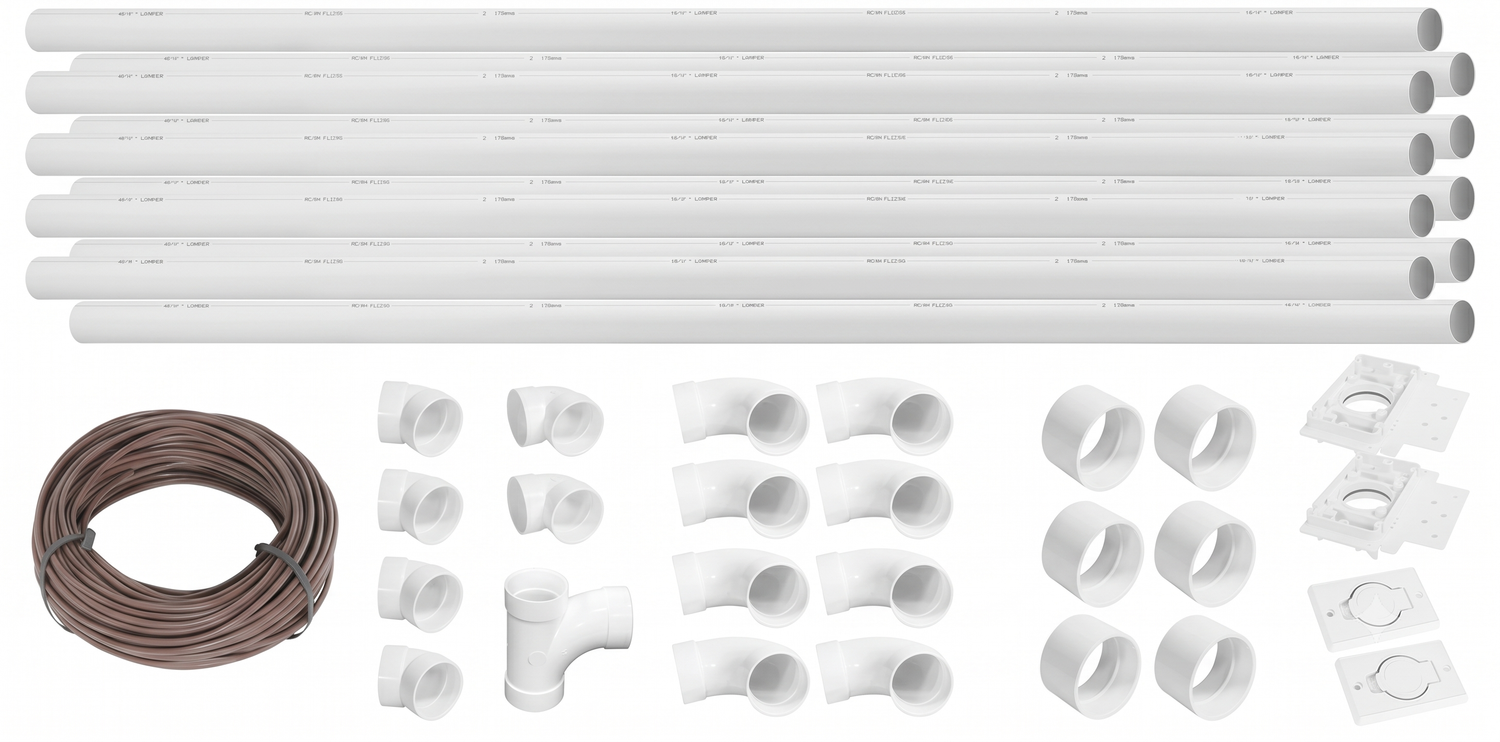
The In-Wall Tubing Network — PVC tubing (usually 2-inch diameter) runs through your walls, floors, and ceilings, connecting each room's inlet valve to the power unit.
The Inlet Valves and Accessories — Wall-mounted inlet ports let you plug in the hose at any location in the home. Paired with a quality electric hose, telescopic wand, and powerhead, these inlets make room-to-room cleaning seamless.
The dirty air and debris travel through the tubing and collect in the power unit's canister — completely outside the living area. This means no re-circulation of dust or allergens, a major benefit for allergy and asthma sufferers.
Why Central Vacuum Installation Adds Real Value to Your Home
Before getting into the how-to, it's worth understanding why this upgrade matters.
Better Air Quality — Portable vacuums, even high-end models, exhaust air back into the room. Central vacuum systems vent exhaust directly outdoors or into a collection canister far from your living space, reducing indoor allergens by a significant margin.
Superior Suction Power — Central vacuum power units are 3 to 5 times more powerful than the average portable vacuum. Because the motor doesn't need to be light or portable, manufacturers can use larger, more powerful motors without compromise.
Increased Home Resale Value — A central vac system is a selling feature in Canadian real estate. Buyers recognize it as a premium fixture — similar to a finished basement or upgraded kitchen.
Lower Long-Term Cost — Once installed, a quality central vacuum system can last 20 to 30 years with basic maintenance. Compare that to replacing a portable vacuum every 3 to 7 years.
Quiet Operation — Since the motor is housed in the basement or garage, the noise level in your living areas drops dramatically compared to a traditional vacuum.
Planning Your Central Vacuum Installation
Good planning is the difference between a clean, efficient installation and one you'll regret.
Here's how to approach it.
Step 1: Choose the Right Power Unit for Your Home
Power units are rated by air watts, suction lift, and home square footage. Choosing a unit that's too small means poor performance; one that's oversized for your home is an unnecessary expense.
As a general rule:
- Up to 3,000 sq. ft. — Entry-level units like the CanaVac ACAN50A are well-suited for smaller homes and condos.
- 3,000–8,000 sq. ft. — Mid-range units such as the CanaVac ACAN70A or ACAN690A handle multi-level homes with ease.
- 8,000–10,000+ sq. ft. — Large homes benefit from premium units like the CanaVac ACAN790A Signature Series, which delivers exceptional power for expansive floor plans.
When browsing power units at Vacuum Parts Canada, look at the air watts rating alongside the listed home size. Also consider whether you want a bagged or bagless (cyclonic) unit — bagless systems like those from DrainVac and CycloVac require less maintenance and never lose suction as the canister fills.
Step 2: Decide How Many Inlet Valves You Need
A standard rule of thumb is one inlet valve per 600 sq. ft. of living space. Each inlet should be positioned so that a 30-foot hose can reach every corner of that zone without straining. Mark these locations on a floor plan before buying tubing.
In a typical 2,000 sq. ft. two-storey home, you might plan for:
- 2 inlets on the main floor (living room and kitchen/hallway)
- 2 inlets upstairs (master bedroom zone and secondary bedroom hallway)
- 1 inlet in the basement or garage
Most homeowners also install a VacPan — a low-profile kick-space inlet that sweeps debris directly into the system with the press of a toe — in the kitchen and bathrooms.
Step 3: Map Your Tubing Route
This step is where central vacuum installation requires the most careful thinking. You want the shortest, most direct path from each inlet valve to the power unit, minimizing bends and turns. Every 90-degree elbow adds friction and reduces suction efficiency.
Key routing tips:
- Run tubing vertically inside interior walls whenever possible — it avoids exterior moisture and insulation complications.
- Use long-sweep elbows instead of sharp 90-degree fittings to maintain airflow.
- In multi-storey homes, run a vertical chase from the basement to the upper floor — often through a closet.
- Keep the main trunk line as short as possible between the power unit and the first inlet.
Step 4: Gather Your Supplies
Before you start cutting into walls, assemble everything you'll need. Vacuum Parts Canada carries complete central vacuum packages as well as individual installation supplies, so you can buy everything in one order.
Your shopping list will include:
- Central vacuum power unit
- 2-inch PVC tubing (sold in lengths)
- Long-sweep 90-degree elbows and 45-degree fittings
- Low-voltage wire (to power the automatic on/off through the hose handle)
- Inlet valve bodies (wall plates)
- Mounting brackets and studs for tubing
- Tubing couplers and end caps
- Muffler (for outdoor exhaust)
- Silicone sealant and primer/solvent cement for PVC
How to Install a Central Vacuum System: Step-by-Step
Step 1: Install the Power Unit Location
Mount the power unit on a wall stud in your chosen utility space — garage or basement. Leave at least 18 inches of clearance around the unit for airflow and maintenance access. Mark the wall where the main inlet pipe will enter the unit.
Step 2: Run the Tubing
Working from the power unit outward, begin attaching tubing runs toward each planned inlet. Drill through wall plates, floor joists, and blocking as needed. Use solvent cement to secure all PVC joints firmly — no leaks means no loss of suction.
Run the low-voltage wiring alongside (or inside) the tubing to each inlet location. This wire allows your hose handle's on/off switch to control the power unit automatically.
Step 3: Install the Inlet Valves
Cut inlet openings in the drywall, connect the tubing and low-voltage wiring to the back of each inlet body, and secure the outlet to the wall. Inlet valves should sit flush with the finished wall surface. Most models accept standard wall plates for a clean, finished appearance.
Step 4: Connect the Exhaust
Route an exhaust line from the power unit through an exterior wall. Install a muffler and exhaust cover outside. This ensures dust and exhaust air exit the home — one of the biggest health advantages of central vacuum systems.
Step 5: Test the System
Before finishing walls (if working on new construction or a renovation), test every inlet with a small piece of paper or tissue to confirm strong suction and airtight connections. Check that the low-voltage circuit triggers the power unit correctly when you plug in the hose.
Step 6: Connect Your Hose and Accessories
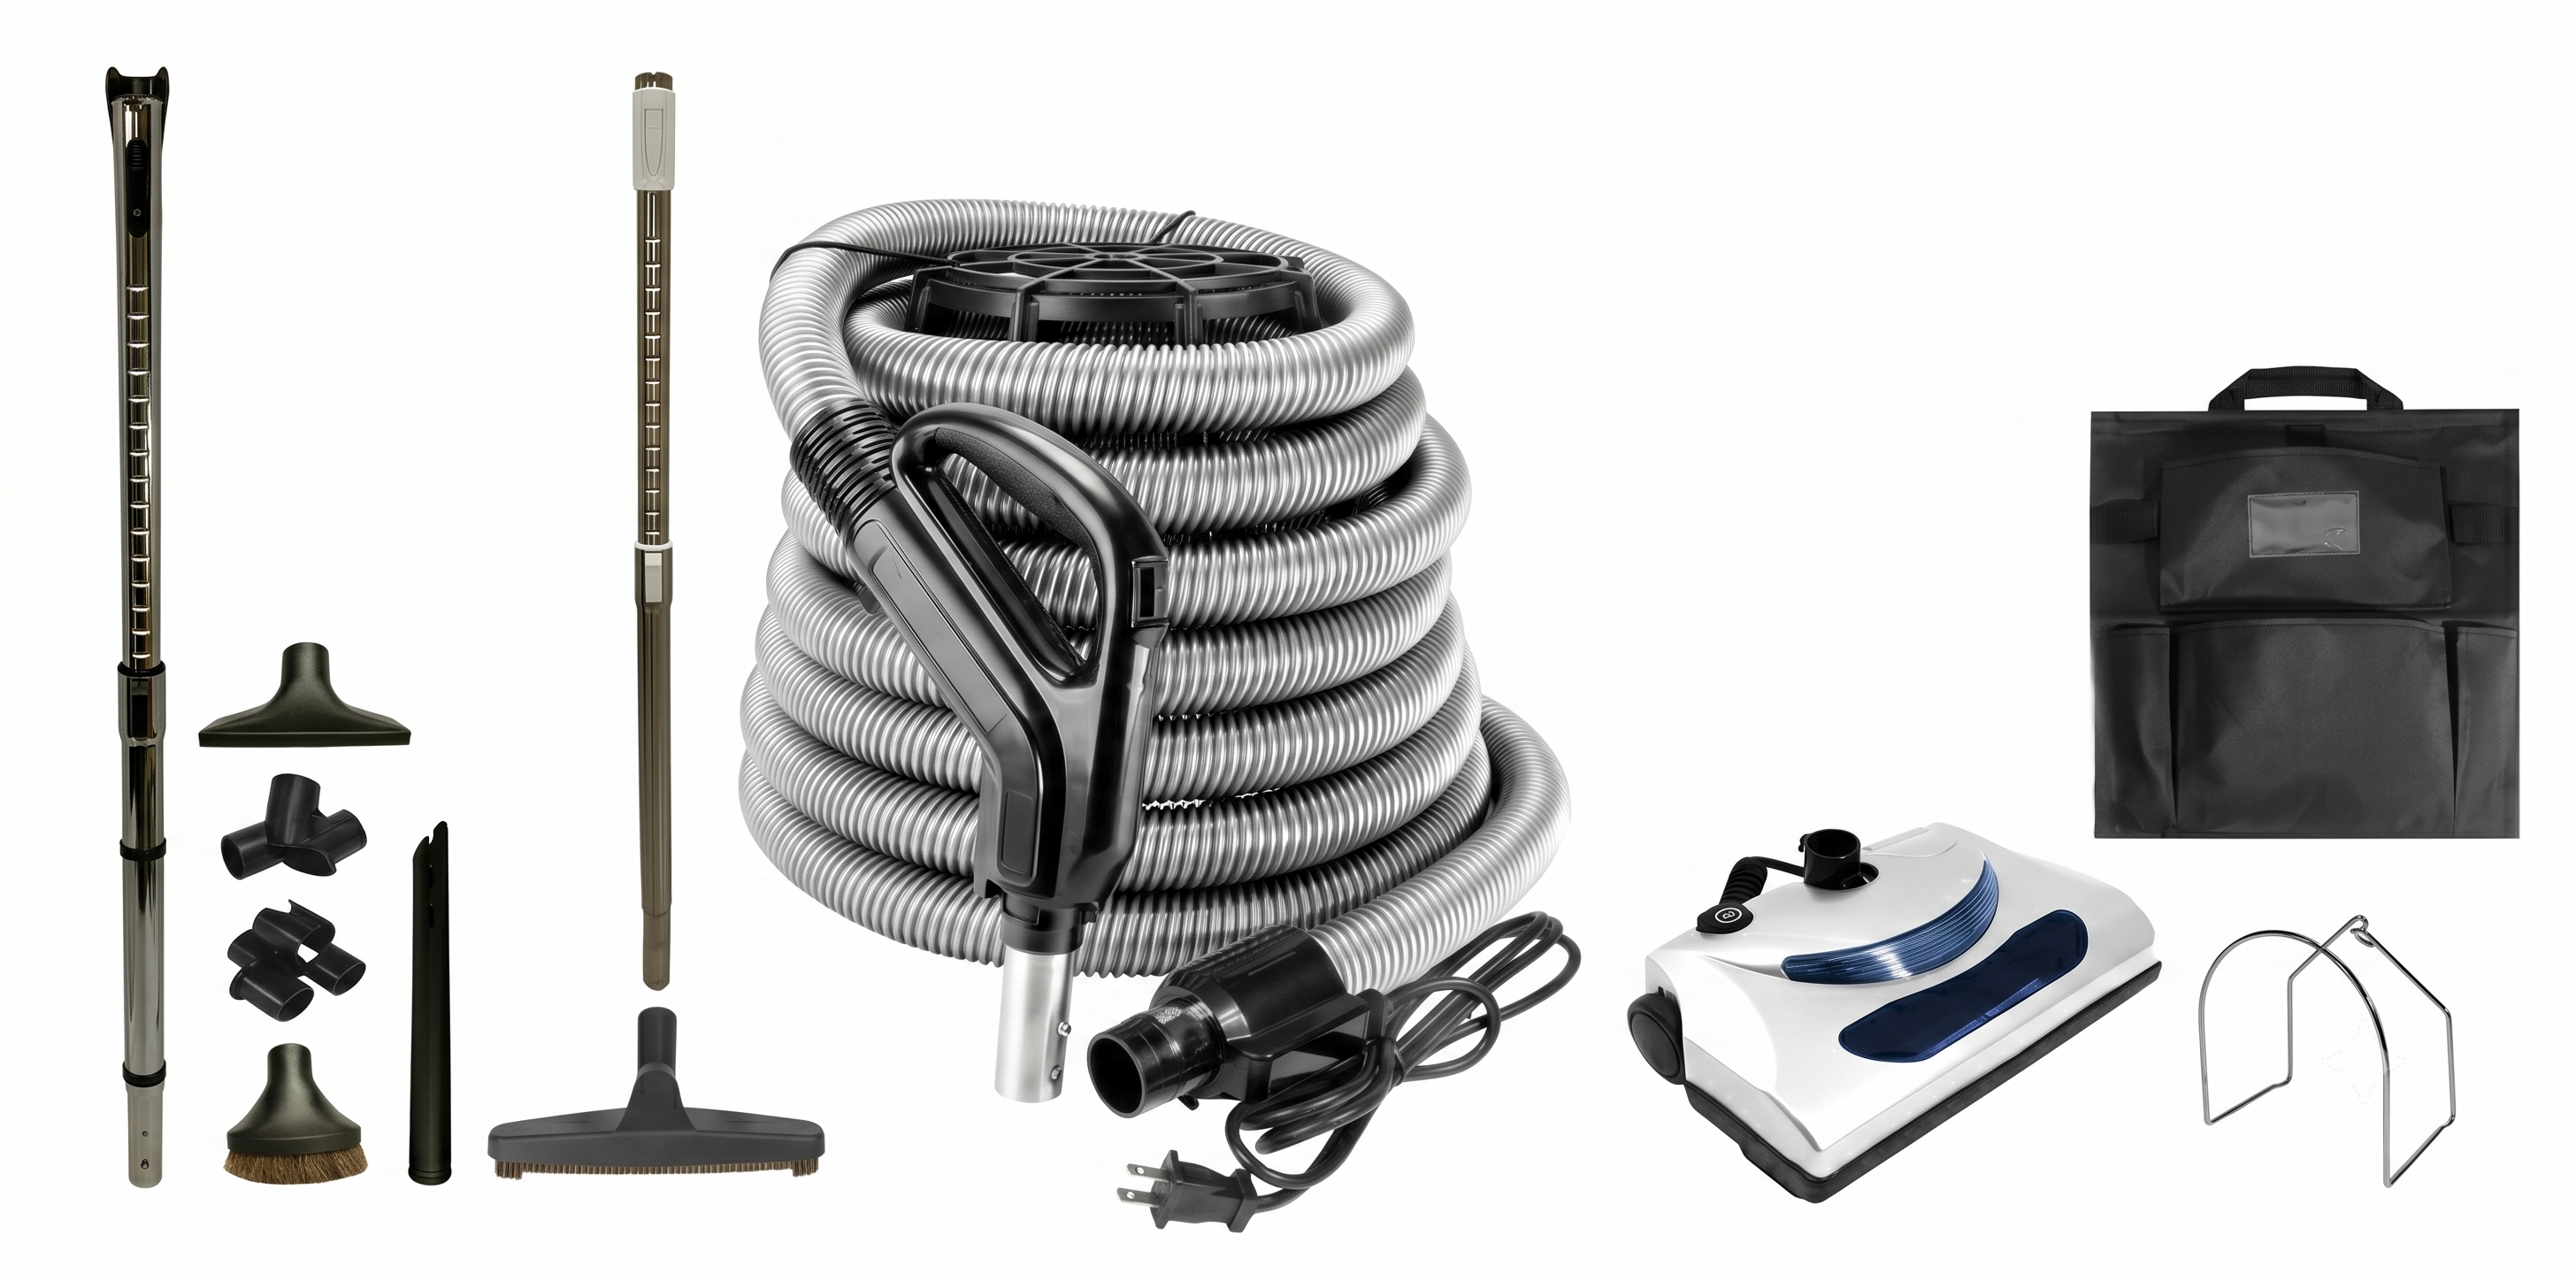
This is the fun part. Plug your hose into the nearest inlet and power it up. Vacuum Parts Canada offers a wide selection of central vacuum accessory kits with electric hoses, telescopic wands, and powerheads. Whether you need an electric powerhead for carpets and area rugs, or a deluxe air-driven kit for hardwood floors, there's a kit matched to your flooring type and home.
Retrofit vs. New Construction Installation
Installing a central vacuum in a new-build home is straightforward — walls are open, tubing routing is easy, and inlet placement is planned from the start. But what if you already live in a finished home?
Retrofitting is entirely possible and is done successfully in Canadian homes every day. The main challenge is fishing tubing through finished walls.
Strategies include:
- Using existing cavities — Closet walls, drop ceilings, and utility chases often provide hidden pathways.
- Running tubing in the basement or crawl space — Inlets can be placed low on walls and tubing routed beneath the floor.
- The garage route — Many homeowners run exterior wall tubing through the garage before entering the main home.
Retrofit installations may take a weekend rather than a day, but the result is the same permanent, powerful cleaning system.
Choosing the Right Central Vacuum Accessories
Once your system is installed, the quality of your accessories determines the quality of your clean. Here's what to look for.
Electric vs. Air-Driven Powerheads
Electric powerheads use a powered rotating brush roll — ideal for homes with carpet, area rugs, and pet hair. The SEBO ET-1 and Wessel Werk EBK360, available through Vacuum Parts Canada, are popular choices among Canadian homeowners for their reliability and deep-cleaning performance on both carpet and hard floors.
Air-driven (turbine) powerheads like the TurboCat use the suction airflow to spin the brush roll. They are a good option for homes that are primarily hardwood with occasional area rugs.
Hose Length and Style
Most residential central vacuum hoses come in 30-foot and 35-foot lengths. A 35-foot hose is worth the slight extra bulk if your home has large open-concept areas or long hallways. Crush-proof hoses are strongly recommended — they maintain full suction even when bent around corners and resist kinking over years of use.
Pistol-grip electric hoses allow you to control the power unit's on/off function directly from the hose handle, so you're not walking back to the power unit every time.
Telescopic Wands and Tool Kits
A telescopic wand that adjusts to your height makes above-floor cleaning much more comfortable. Most VPC accessory kits include a deluxe 4-piece tool set — crevice tool, dusting brush, upholstery tool, and utility brush — enough to handle furniture, baseboards, blinds, and tight corners throughout the home.
Maintenance Tips to Keep Your System Running Smoothly
A central vacuum system requires minimal maintenance compared to portable vacuums, but a few habits keep it performing at its best.
Empty the canister regularly — For bagged systems, replace the bag when it's two-thirds full. For bagless systems, empty the canister every few months depending on usage.
Check the filter — Foam and HEPA filters should be cleaned or replaced annually. A clogged filter is the most common cause of reduced suction.
Inspect the hose and attachments — Small cracks or holes in the hose cause suction loss. Central vacuum hoses are easily replaceable through Vacuum Parts Canada.
Listen for unusual motor sounds — Central vacuum motors are built to last, but worn carbon brushes or a struggling motor are worth addressing early. Replacement central vacuum motors are available if your unit eventually needs a rebuild.
Why Shop at Vacuum Parts Canada?
For Canadian homeowners, Vacuum Parts Canada is a one-stop destination for central vacuum systems, installation supplies, and accessories. Their product range covers:
- Complete central vacuum packages from brands like CanaVac, CycloVac, Nilfisk, Vacuflo, and DrainVac
- Individual power units sized for homes from 1,500 sq. ft. to over 10,000 sq. ft.
- Central vacuum installation supplies — tubing, fittings, inlet valves, and low-voltage wire
- Accessory kits with electric and air-driven powerheads, crush-proof hoses, and telescopic wands
- Replacement parts — motors, filters, bags, and hoses for existing systems
Free shipping is available on orders over $99, and their team brings product knowledge that helps you choose the right system the first time.
Final Thoughts
Central vacuum installation is one of the most practical home upgrades available to Canadian homeowners — and it's more achievable than most people think. With proper planning, the right power unit sized to your home, quality tubing, and a well-chosen accessory kit, you'll have a cleaning system that outperforms any portable vacuum and lasts for decades.
Whether you're building new, renovating, or retrofitting a finished home, the investment pays off in cleaner air, quieter cleaning sessions, and a home that's genuinely easier to maintain.
Ready to get started? Browse central vacuum packages, power units, and installation supplies at vacuumpartscanada.ca — and take the first step toward a cleaner, healthier home.
Vacuum Parts Canada | Your trusted Canadian source for central vacuums, parts, and accessories. Free shipping on orders over $99.

Leave a comment
This site is protected by hCaptcha and the hCaptcha Privacy Policy and Terms of Service apply.